
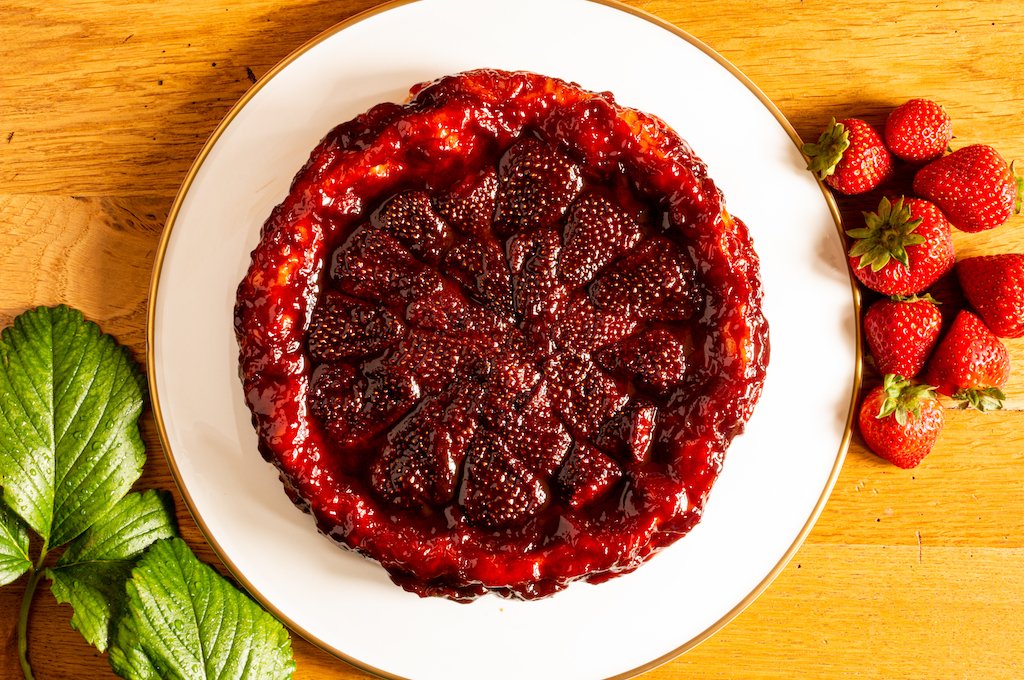
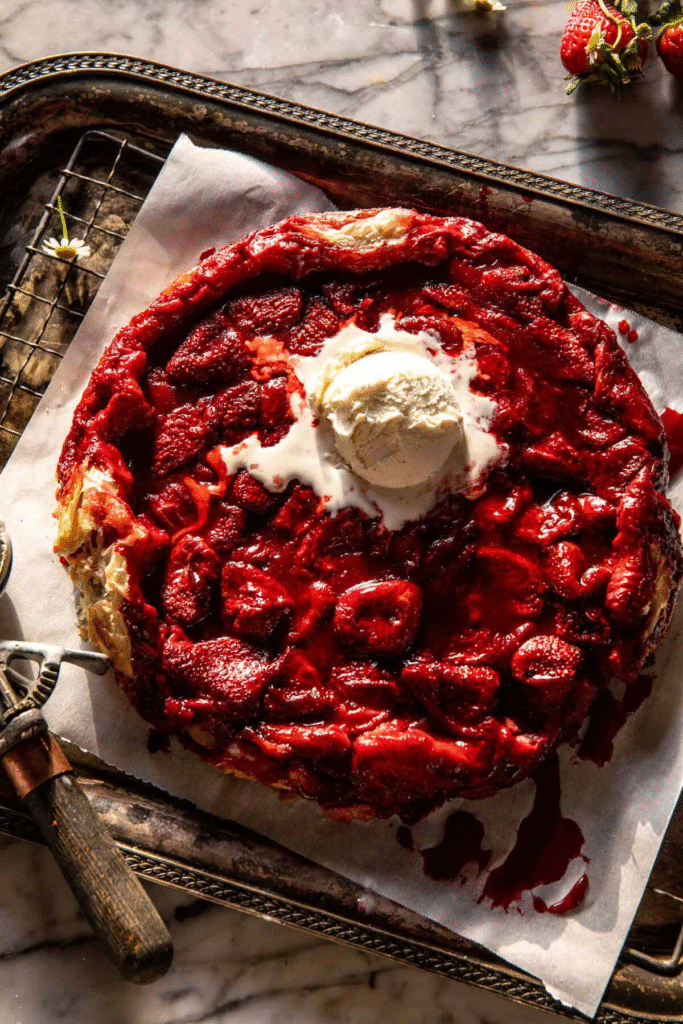
There’s something undeniably magical about a Tarte Tatin. This classic French dessert, with its caramelized fruit and buttery puff pastry, feels fancy—yet it’s surprisingly simple to make. Today, we’re putting a seasonal twist on the traditional recipe with a Strawberry Tarte Tatin, perfect for spring and summer. Imagine juicy strawberries simmered in honey and brown sugar, topped with flaky pastry, baked until golden, and then flipped onto a plate so the glossy, syrupy berries become the star. Serve it warm with vanilla ice cream, and you’ve got a dessert that’s equal parts impressive and effortless.
Why You’ll Love This Recipe
- Minimal work, maximum wow – Appears to be baked in a bakery, but it’s cooked in one skillet.
- Honors fresh strawberries – Yummy way to enjoy ripe (or ever so slightly too ripe) berries.
- Versatile – Works nicely with frozen strawberries, too, so you can enjoy it year-round.
- Perfect for gatherings – Ideal for Memorial Day, Fourth of July, or summer dinner parties.
The Story Behind the Recipe
I’ve been crazy about Tarte Tatin for years. One of the first versions I ever posted was a caramelized banana tarte, then the traditional apple version, and even a savory tomato one. But when I had a ton of strawberries on hand before a trip, a strawberry Tarte Tatin was a no-brainer.
For the novice, a classic Tarte Tatin is caramelizing apples in butter and sugar, topping them with pastry, and baking golden. The wizardry is turning it out—fruit becomes the glimmering, jammy topping, and pastry has absorbed all the tasty juices.
This strawberry variant uses the same idea but is actually faster because strawberries become soft more quickly than apples do. The outcome? A bright, fruity dessert ideal for summer.
Ingredients – Easy, Sweet, and Versatile
Here’s your list (specific measurements are the same as in the original recipe, only stretched out for ease of understanding):
Fruit & Sweeteners
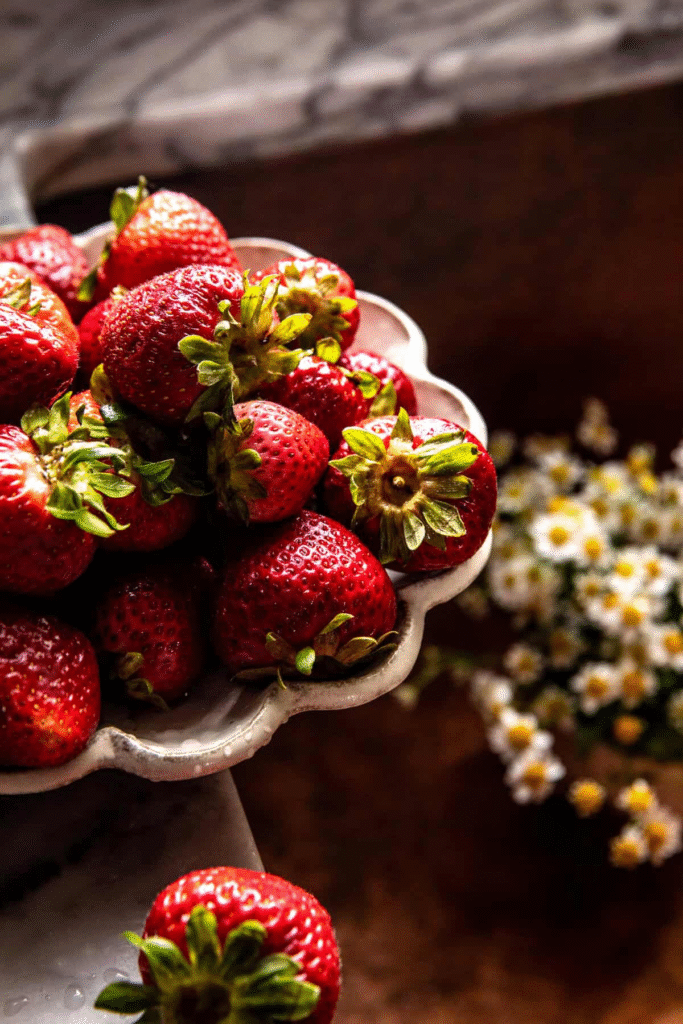
- Strawberries, fresh or frozen – Best fresh when in season, but frozen is okay when you don’t have time to thaw (no need to thaw).
- Honey – Adds floral sweetness; omit and use all brown sugar if you prefer.
- Brown sugar – Enhances the caramelized flavor.
Thickening & Flavor Enhancers
- Arrowroot powder or cornstarch – Thins out the strawberry juices so they become syrupy rather than watery.
- Fresh lemon thyme leaves (optional) – A light herb flavor that goes so well with berries.
- Vanilla extract – Added sweetness.
Pastry & Finishing Touches
- Frozen puff pastry – The ultimate time-saver for that buttery, flaky crust.
- An egg (optional) – Used to brush pastry to get it ultra-golden.
- Coarse sugar (optional) – Creates excellent crunch and sparkle.
- Vanilla ice cream (non-negotiable, in my opinion!) – The warm-cold contrast is sublime. Whipped cream is a suitable substitute.
Special Tools – Just One!
A 10-inch oven-safe skillet (cast iron works well) will be needed. That’s all—no special tools required.
Step-by-Step Instructions – Foolproof and Relaxed
Step 1: Cook the Berries
In your pan, put together the strawberries, honey, brown sugar, arrowroot powder, thyme (if used), and splash of water. Bring to a simmer, then decrease for approximately 10 minutes. The berries will become tender and release their juices, and the mixture will become thicker. Do not hurry this step—the syrup must be thick enough to coat the back of a spoon.
Pro Tip: If you’re using frozen berries, they release more water, so you may need a minute or two of extra simmering.
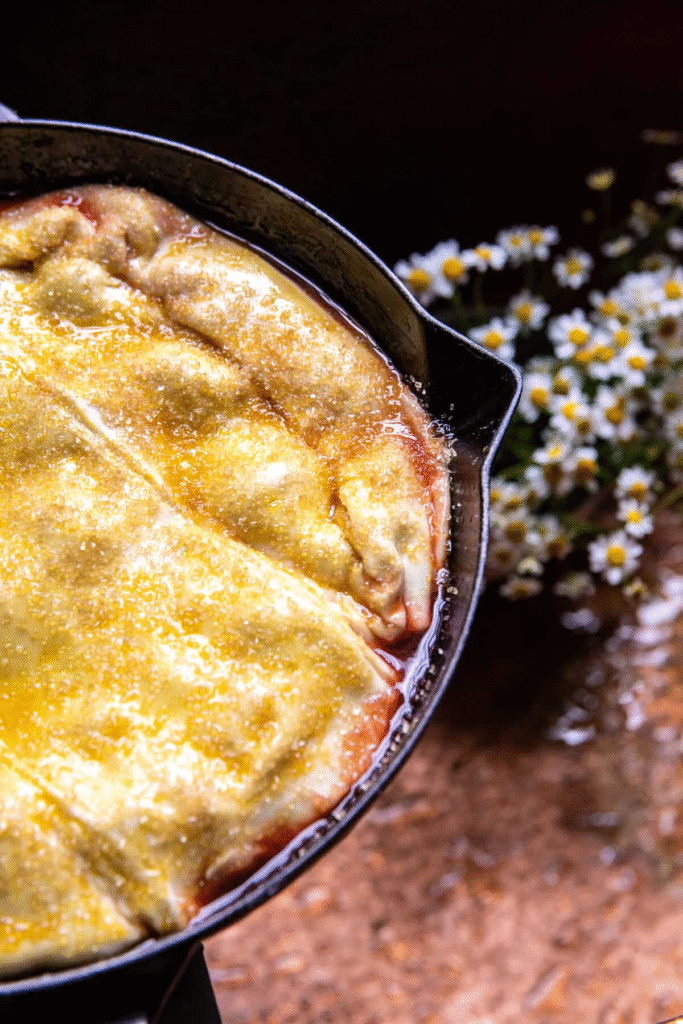
Step 2: Roll Out the Pastry
While the berries cook, thaw your puff pastry (if frozen) and roll out into slightly larger rectangle than your skillet. Drape the pastry loosely over the skillet when the berries are done, tucking edges in. No need to be perfect—rustic is adorable!
Optional but yummy: Beat an egg and brush pastry, then sprinkle with coarse sugar for crumbly, sparkly finish.
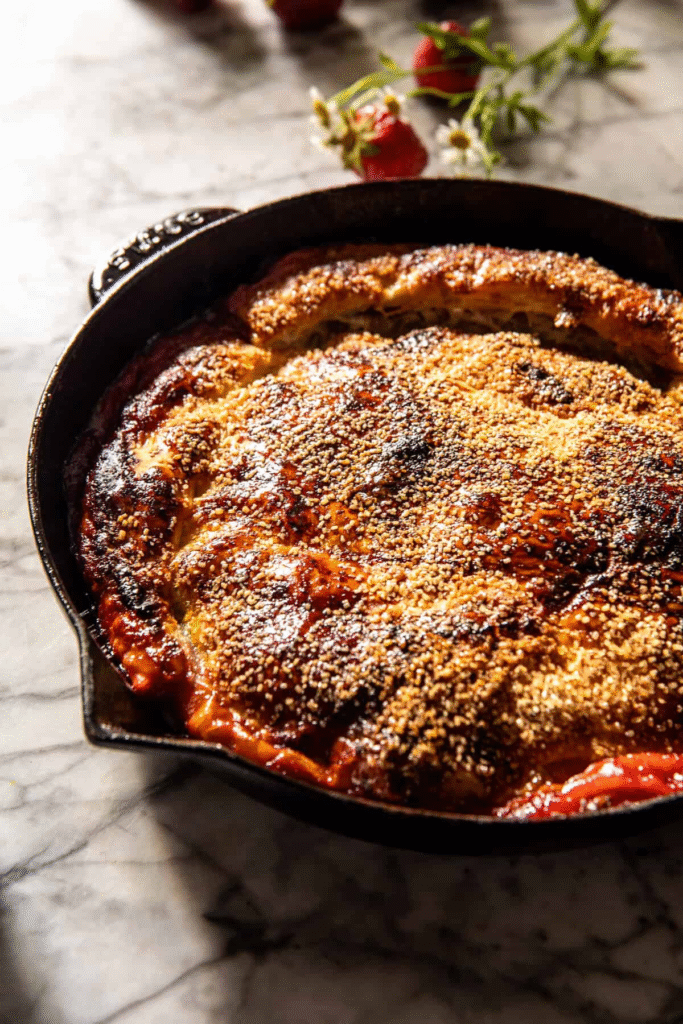
Step 3: Bake to Golden Perfection
Put the skillet onto a rimmed baking sheet (for drips to fall into) and bake at 375°F (190°C) for 25–30 minutes, or until golden brown. If browning too rapidly, loosely cover with foil.
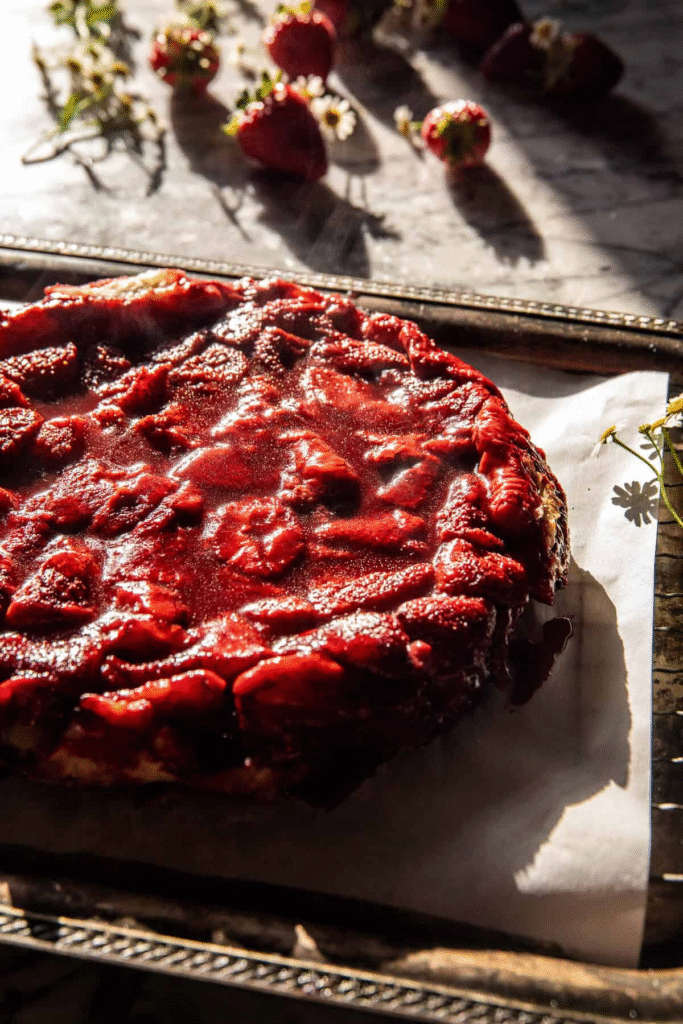
Step 4: The Big Flip (Don’t Worry, It Works!)
Allow the tarte to cool in the skillet for 15 minutes—long enough for the syrup to set slightly. Ease it out with a knife along the edges. Set a large plate or serving platter over the skillet, and with bravado (but caution!) turn it upside down.
What if berries adhere? So what! Just push them back into place. The charm of a Tarte Tatin is its homey imperfection.

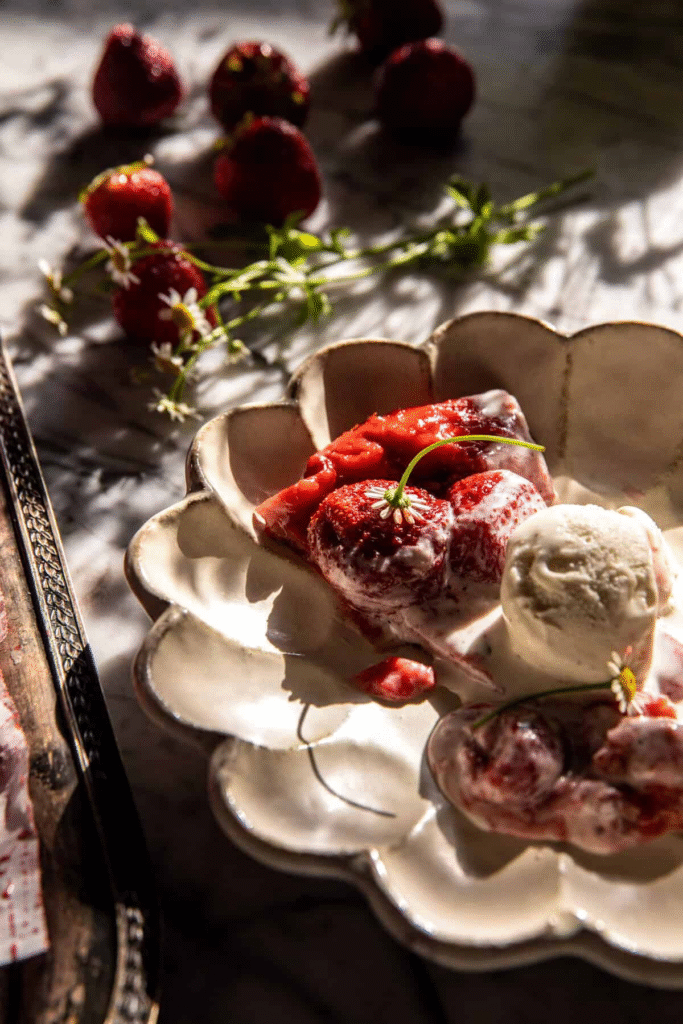
Step 5: Serve Warm & Enjoy!
Cut and serve fresh, preferably topped with a scoop of melting vanilla ice cream drizzled across the top. The warm strawberries, crispy pastry, and cold ice cream all go together to make for the ultimate bite.
Make-Ahead & Storage Tips
- Prep ahead: Prepare strawberries and refrigerate in the skillet (covered) for up to 1 day. Top with pastry and bake as desired.
- Leftovers? Reheat in oven to restore crispness.
Changes to Make
- Mixed berries – Blackberries or raspberries add depth.
- Balsamic drizzle – A sprinkle of balsamic reduction adds sweetness a boost.
- Vegan version – Use plant puff pastry and coconut oil instead of butter.
Final Thoughts
This Strawberry Tarte Tatin is the kind of dessert that feels special but requires little effort. Whether you’re hosting a summer party or just craving something sweet, it’s a guaranteed crowd-pleaser. Plus, that dramatic flip never fails to impress!